Machine Frame or Stator
Marking And Drilling Axial Magnet Holes
Marking And Drilling Axial Magnet Holes

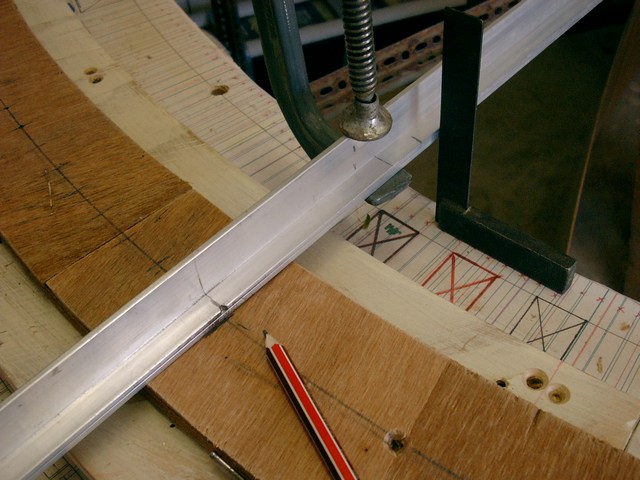
The centerline of the magnet positions is marked off the table drawing, onto a rod extending from the central pivot point, before any plywood is laid out. When 4 plywood layers have been completed the rod is used as shown to mark a centerline. A square is used to accurately establish each magnet position from the color coded drawing on the table. Small nails keep plywood sections in place on the table.

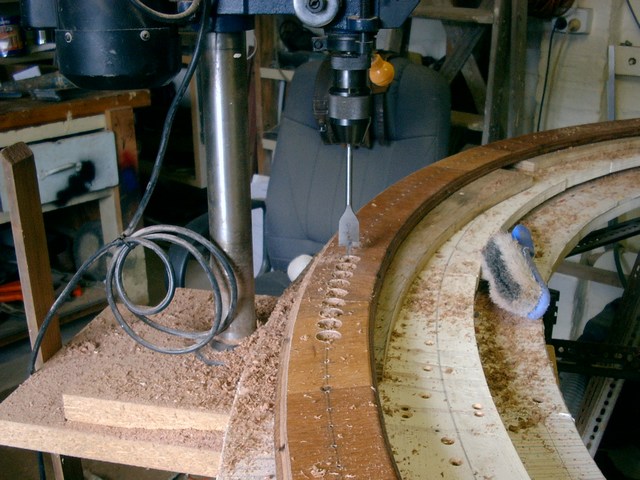
When the magnet hole positions have been marked with a centerpunch, the plywood is lifted up onto packers to prevent damage to the table. The holes are then drilled with a small drill press mounted onto the table supports. First drill all with a small pilot hole, then with the spade bit.
After the holes have been drilled and cleaned up to make sure the magnets will fit easily, sheet metal sections the same shape as the plywood are fitted to make one complete layer. I used 0.6mm galv iron, and held these in place with silicone sealant.
The next layer of plywood is clamped onto the steel with silicone, and allowed to set.
The final (6th) layer of plywood is then glued in place. The completed assembly is put back exactly where it was before drilling. A completed aluminum frame section can now be attached. This is lowered onto the plywood, and 10mm threaded rod complete with nuts and washers is fitted through the holes in the frame and in the table. The frame is attached to the plywood temporarily with self tapping screws. The nuts are then used to elevate the whole assembly to near the top of the threaded rod. It is now possible to remove the self tappers one at a time and drill out and replace with small 3/16th bolts and nyloc nuts. The radius required can be done later when this assembly is removed. This first assembly will be at the the top, so the magnets can be fitted when convenient, and then tested for correct polarity. As they are only held in by the attraction to the steel backing plate, they must be painted on the top in case they become dislodged and get back in the wrong way. I use Red for North Pole, Blue for South Pole. My top unit is all North Pole exposed.
When the completed unit is removed for storage, the second identical unit is made and removed for storage.


